Go to your Blogger OVERVIEW- click on your name in the top right hand corner.
Click EDIT PROFILE.
Scroll down a bit until you see PROFILE PHOTO. Chose a file to upload.
 Title your voter's poll and add the questions and then choose the closing time for your poll. Publish!
  You may like to drag your poll to the place you want it in your layout and save the changes! Easy as!


 For the security conscious you can of course turn on comment moderation in the options pane and the world (or other children) will not be able to hear the comments unless you approve them.
 I decided to upload from my computer- it took a little while to upload all the photos but I have lots of other work to do while I waited!


 Go to Slideshare Website and register using your Gmail address and password to keep things simple. They will send you a confirmation email to respond to.
 Browse to your Powerpoint presentation and upload it. When it is done you may have to wait a few moments before it is converted.
 Click on your presentation and you will see a box on the left where it says enbed in your blog and click on the html code to select it. Copy and paste it into the new post and there you are!
 Once that is done launch the scrapbook builder.
 Create a new scrapbook.
 Give this particular scrapboog and name and an URL should you want to look at it separately from your Blogger blog. Decide whether you want to make it private or public.
 Select a theme.
 Now get some photos to add to the theme you have selected.
 Click on the Get Photos link in the top left hand corner.
 You can collect them from your Flickr account directly if you have one or upload the photos in batches of three if you want.
 Again I have reduced the size of the photos in iPhoto to 500 whatevers to make the uploading process quicker.
 You can upload another batch of three or not.
 Then add them to your scrapblog.
 To get the photos into the frame just drag them. You will have to resize them and fiddle around a bit with the layering of the text, photos and frame but all the menus are on the right hand side and it is pretty easy to work out.
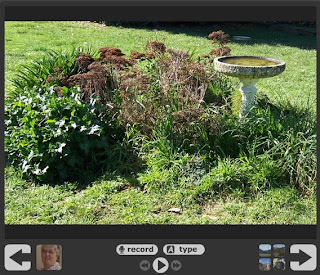
 Now I go APPLE, SHIFT + 4 all at the same time and drag the crosshairs where I want the screen capture to be and I have like a photo of the screen. I then upload that to Blogger in the usual way. On a PC you probably need to click the PRINT SCREEN key and drop it into the image editor to crop it to the desired size.
 Isn't that very cool with a bit more bling! It is almost like a free on-line version of Photoshop with templates- a good way of introducing the concept of layers.