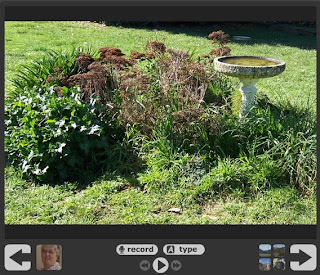
I have made this pdf that you can download that will take through all the steps to making a Voicethread. Click here to get it.
Here is the basic outline of what is in the pdf. Firstly you do the registering thing that you are by now very used to.
Click on CREATE and add a title and description for your VoiceThread. Upload the images that you want to use. This may take a little time at high resolution but be patient.

When the uploading is finished you will see an organiser. You can change the order that you want the photos to play by dragging them to where you want them to be.

Once your order is sorted record your voice-over or type your message. You can re-record your message if you muck it up. Once happy with your sound byte click save and move on to the next photo.

Add some new commenters by adding a name and a photo.
When a new person wants to add a comment click on SWITCH (top right hand corner). Annd add a new avatar and name.
Now you have switched identities to the one who wants to add comment they can record their comment and it will play after your initial sound byte. For the purposes of this practice I have pretended to be my student Jane!
 For the security conscious you can of course turn on comment moderation in the options pane and the world (or other children) will not be able to hear the comments unless you approve them.
Be sure to change your Voicethread to public if you want others to be able to see and hear your VoiceThread.
When you are happy click on Share and decide your sharing options- you need to make your Voicethread public, turn on comment moderation and you may like to let it be added to the Browser if you are OK for random others to enjoy your Voicethread.
To put your Voicethread in the public arena click on Embed to embed or link from your blog or wiki. Decide what options you want. Clicking on the code selects it- then you can copy it and insert it into your blog. You can change the width and height for your space to fit your Blogger template if you want but be careful to keep the aspect ratio right otherwise your VoiceThread will look lopsided. For this blog post I changed the size to 600x600. For a Voicethread on how this works click here. I can see lots of possibilities for this tool. If you can think of some or link to some ways you have used it please leave a comment.
You can also construct Voicethreads via your iPad. To get the app click on the link below.
http://itunes.apple.com/nz/app/voicethread/id465159110?mt=8

